
How to Create Exhibition Stall Renders Online That Match the Design
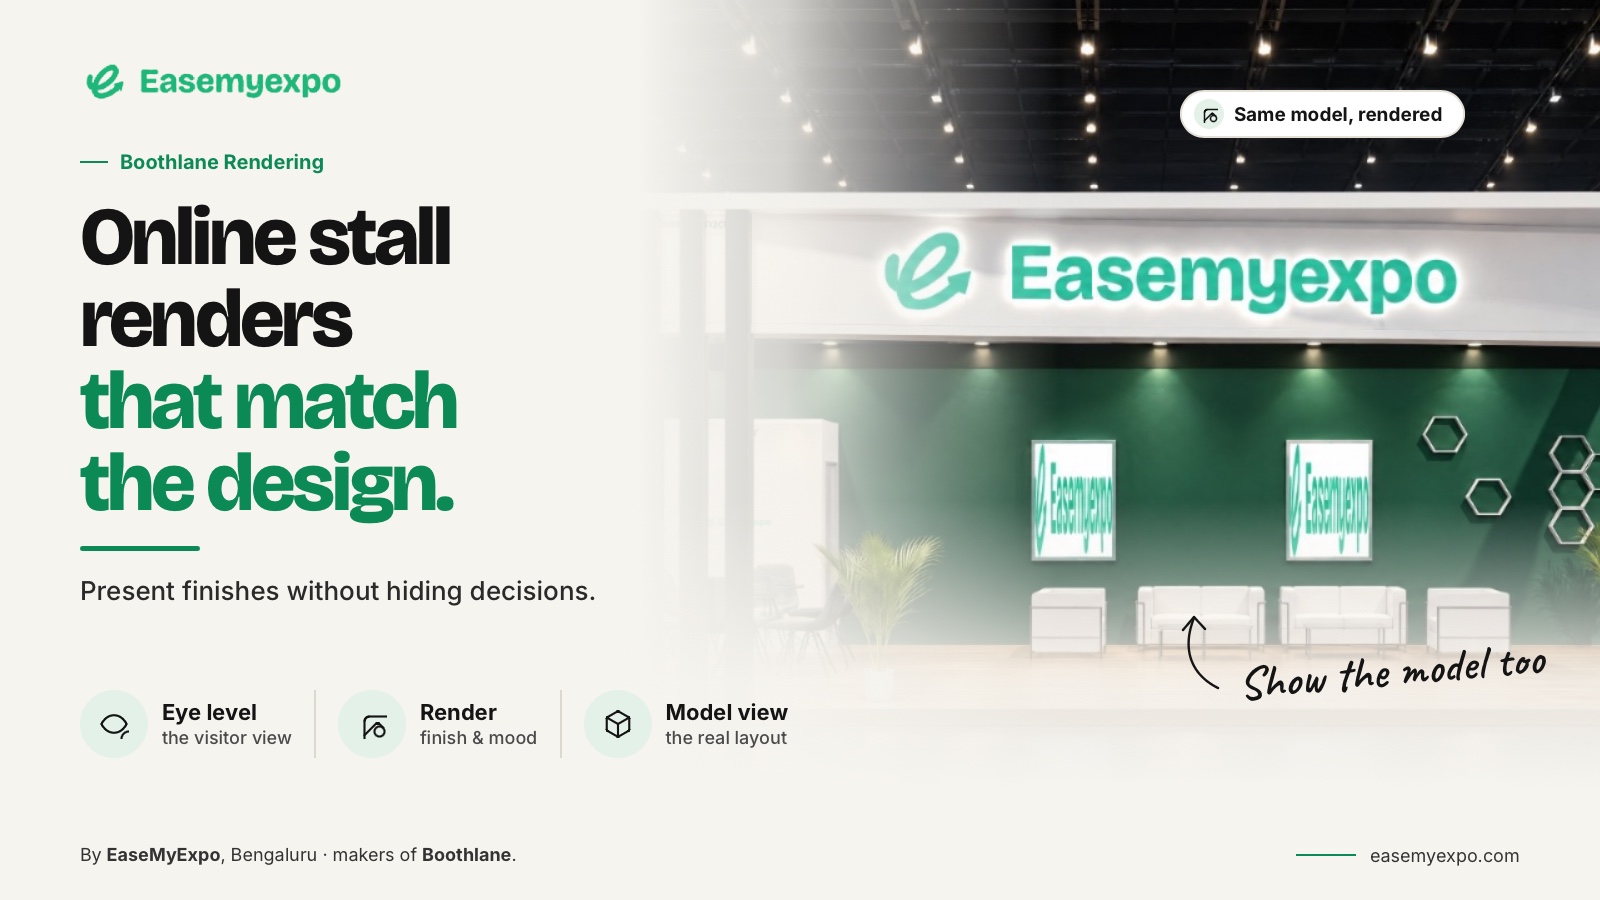
To create useful exhibition stall renders online, finish the core layout first, choose views that answer the client’s questions, and verify branding, materials and geometry before sharing anything.
A render should explain the approved design, not quietly change it. Every presentation image should also remain connected to an identifiable version of the 3D model so the team knows exactly what the client is reviewing.
The strongest render is not always the most dramatic one. It is the one that helps the viewer understand the booth and make the intended decision.
At a Glance
A good exhibition stall rendering workflow is fairly simple:
- Settle the main layout before producing final renders.
- Choose camera angles based on the decisions the client needs to make.
- Check logos, graphics, furniture and geometry against the editable model.
- Keep visual materials separate from final fabrication specifications.
- Review AI-assisted outputs carefully for unwanted changes.
- Export images for the way the client will actually view them.
- Keep every render connected to a named design revision.
The goal is not simply to make the booth look impressive. The goal is to communicate the design accurately.
What Should Be Settled Before Rendering?
Before preparing polished renders, confirm the major parts of the stall design. This includes the footprint, open sides, main displays, furniture positions, fascia and essential branding.
If the team is still discussing the layout, a simple 3D view may be more useful than a polished final image. Rendering an unresolved design can make the project look further along than it really is and shift attention toward colours and finishes before the important spatial decisions are approved.
Before rendering, check that you have agreed on:
- Stall dimensions and open sides
- Main visitor entry points
- Display and demonstration areas
- Furniture and storage positions
- Fascia design
- Logo and key brand artwork
- Major layout decisions
Save the current design state before preparing the presentation. This gives you a clear reference if the client later asks whether a render matches the approved model.
In Boothlane by EaseMyExpo, users can create and customise the exhibition stall in the browser and then generate visual outputs from that design. Rendering supports the design process; it does not replace the decisions about how the booth itself should work.
Which Camera Views Are Most Useful?
Choose camera views based on the questions they need to answer, not simply on which angle looks the most attractive.
Useful views can include:
- Main aisle view: Shows how visitors first encounter the booth and branding.
- Second approach: Useful for corner stalls or stalls with multiple open sides.
- Interior view: Explains meeting, demonstration or product areas.
- Elevated view: Helps communicate the overall layout.
- Detail view: Useful when the client needs to review signage, graphics or a particular feature.
Avoid relying on one flattering angle that hides weaker or unresolved areas. Check the second open side, storage access and the backs of important features as well.
For a product-focused stand, one image might explain the visitor’s arrival while another shows how the product interaction works. The number of images is less important than giving every image a clear purpose.
How Should Lighting and Materials Be Handled?
Lighting should make the stall easier to understand, not just more dramatic. Important products, graphics and surfaces should remain readable.
Before approving a render, check whether:
- Dark surfaces hide an important product.
- Bright panels wash out branding
- Lighting changes the perceived colour of graphics.
- Reflective surfaces make logos difficult to read.
- Materials still look clear when the image is viewed at a smaller size.
It is also important to separate visual appearance from final material specification.
A digital surface that looks like brushed metal communicates the intended appearance. It does not define the actual material, thickness, mounting method or fabrication detail. Those production decisions should still be confirmed separately with the fabrication team.
Autodesk describes dedicated material and rendering controls within 3ds Max, while Twinmotion includes lighting and visualisation tools as part of its workflow. These are examples of presentation capabilities, but appearance alone does not become a build specification.
Sources:
What Changes When AI Is Used for Rendering?
AI-assisted rendering adds another quality-control step.
Do not assume that every piece of geometry, text or branding will remain exactly the same simply because the generated image looks realistic. Compare the result with the source design and pay attention to:
- Logos and lettering
- Openings and entrances
- Furniture count and placement
- Shelf divisions
- Thin structural elements
- Product shapes
- Brand colours
- Signage
SketchUp documents an AI Render workflow that creates visual interpretations based on a model and instructions. The broader lesson applies to any AI-assisted visualisation process: understand whether the output is an interpretation of the design or a direct representation of editable scene data.
Source: SketchUp AI Render Documentation
In Boothlane, the editable 3D booth should remain the design reference. If a generated visual introduces something that is not part of the approved model, correct it or clearly treat it as a proposal that still requires approval.
How Do You Prepare the Render for the Client?
Choose a resolution appropriate to the delivery channel and inspect the exported file itself, not only the preview inside the design tool.
A render that looks excellent on a large monitor may become difficult to understand after being compressed in WhatsApp, email or a presentation slide.
Give each image a useful file name instead of something like render-final-final-3.jpg. A better naming system can include the project, view and revision.
The image should also be accompanied by the decision you need from the client.
For example:
“Layout approved. Please review the fascia treatment and brand-panel hierarchy.”
That gives the render a purpose. If the client forwards it internally, another stakeholder should still be able to understand what they are reviewing.
Create a Compact Review Set With Different Jobs
For a hypothetical corner stall, three images may be enough:
Main aisle view: Shows brand recognition and the primary approach.
Second entrance view: Shows the booth from the other open side.
Interior view: Explains the demonstration or interaction area.
Keep the finish and lighting treatment consistent across the set. Otherwise, the reviewer may end up comparing lighting moods instead of evaluating the booth itself.
Also test every image at a smaller viewing size. If a logo becomes unreadable, provide a closer supporting view rather than expecting the client to inspect tiny details in a wide shot.
Avoid attaching every experimental image. Remove superseded versions and label alternate finishes clearly as options.
Frequently Asked Questions
Do I Need a Render Before the Layout Is Approved?
Not always. A simple 3D view can be enough to discuss arrangement. Use a polished render when it helps answer the current review question.
Can an AI Render Alter a Logo or Design Detail?
It can introduce visual differences depending on the workflow. Compare the final output with the approved artwork and model before sharing it with a client.
Is a Photorealistic Render a Material Specification?
No. A render communicates visual intent. Actual materials, finishes and construction details should be approved through the appropriate technical process.
What Is the Most Useful Render to Send First?
Usually the view that best answers the client’s main question, often the main approach or eye-level view.
Present the Stall You Actually Designed
The best exhibition stall render is not simply the most photorealistic image. It is the one that clearly represents the design the team has actually agreed on.
Keep the editable booth as the source of truth, choose purposeful views and check every output before it enters the approval process.
Design it, review it and present it clearly with Boothlane by EaseMyExpo.